Video: How to Install and Align a Rail System with a 26X Automatic Level
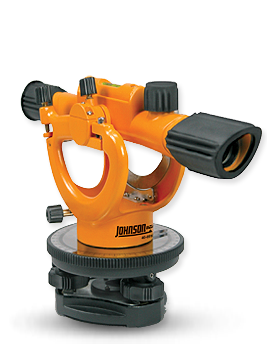
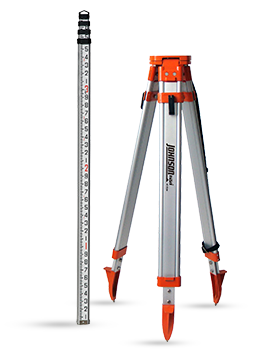
Using a 26X Automatic Level Model #40-6926 (optical instrument / transit level) to install and align a rail system for a movable, high-tech steel cutting tool. The project includes the use of a grade rod to sight the rail system's height and a heavy duty tripod to hold the transit at a steady and consistent level. Filming was onsite at Wausau Steel in Milwaukee, Wisconsin.
VIDEO SCRIPT
DAVE: Hello, I'm Dave Statza and I'm with Johnson Level and we're here today at Wausau steel talking with Dan, whose setting these rails. Now Dan, exactly what are you doing here with this application?
DAN: We're setting these rails for a precision plasma cutter which also has bevel head capabilities on it.
DAVE: I see Dan that you're using a grade rod and optical instrument. What kind of tolerances are required to set these rails?
DAN: What we're looking for from one end of the rails to the other is 0.4 [degrees].
DAVE: So they have to be pretty much dead nuts level?
DAN: They have to be very accurate.
DAVE: Very good. And you said there's going to be a plasma cutting machine that's going to be set on these rails and I imagine that the rails need to be set level so that the head on the plasma machine doesn't occur any kind of error also.
DAN: Correct. Because any imperfections in these rails will transfer to the finished product.
Pictures: Step 1: Line up the automatic level to the grade rod; Step 2: Use the adjusting nobs to center and focus on the grade rod; and Step 3: Adjust the rail to achieve your targeted elevation.
DAVE: When extreme accuracy is required, an automatic level sometimes is a better tool to use than a rotating laser [level]. This optical instrument is accurate to 1/16" of an inch at 200 feet. Whereas most rotating lasers are only accurate to 1/16" of an inch at 100 feet. By taking the short shot of only 15-20 feet, you're eliminating any type of error that can be held with a rotating laser [level].
