What is a Tripod? How do Tripods for Laser Levels Work?
- Tripod Components
- How to Set Up a Tripod
- How to Use a Laser Level with a Tripod
- How to Use a Laser Level Detector
View tripods, detectors and laser accessories from Johnson Level.
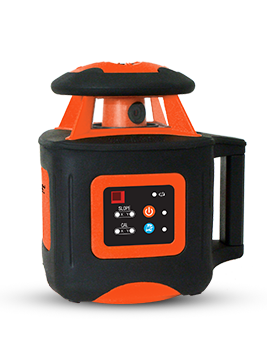
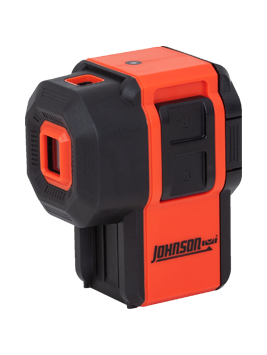
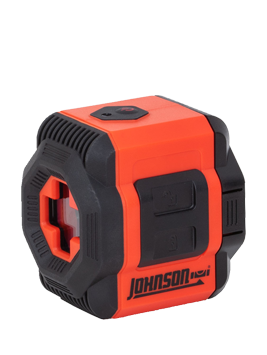
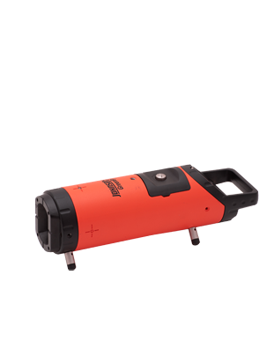
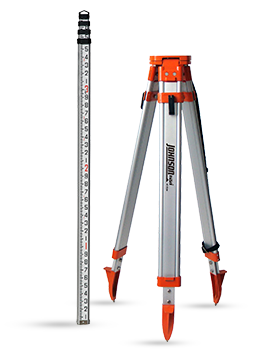
A tripod is a three-legged stand, important in providing the foundation for laser levels and other leveling instruments such as: rotary laser levels, line laser levels, dot laser levels, builder's levels, transit levels, automatic levels and even sometimes torpedo laser levels. A tripod is typically used with a leveling instrument, grade rod, laser pole and level detector. Tripods are portable and provide support and stability along both the side-to-side and up-and-down axis of motion.
There are two different kinds of tripods: adjustable-leg tripods and fixed-leg tripods.
1. Adjustable-Leg Tripods
Adjustable-leg tripods are the more common of the two in the construction world, especially outdoors because of generally uneven terrain. The adjustable-leg tripod is easier to set up on uneven ground because each leg can be adjusted to exactly the height needed to find level, even on a very steep slope. The adjustable-leg tripod is also easy to transport due to having retractable legs.
2. Fixed-Leg Tripods
A fixed-leg tripod's legs remain the same length continuously. These tripods are being replaced more by the adjustable-leg tripod.
Tripod Components
A tripod is made up of three Legs, each with metal Points called shoes; and a Head, which the laser level or other leveling device attaches to.
Legs

The most common materials for tripod legs are:
- Steel
- Aluminum
- Fiberglass
- Wood
Steel is typically the most durable, yet the heaviest option. The lightweight and sturdy choice is aluminum. Wood or fiberglass legs are the most accurate materials used in making tripod legs because of their lack of sensitivity to changes in temperature.
Points
Each tripod, whether fixed or adjustable, has metal points on the end of the legs for added stability and can help provide a stable environment for the leveling tools on top of the tripod. When working outdoors, points on the bottom of the tripod are essential, but when working indoors, metal points can slide or scratch floors. Some tripods can be purchased with rubber attachments which prevents either of these from happening.
Head
The head of the tripod is attached to the legs and allows a steady surface to connect leveling devices. The tool you are using will dictate the type of tripod head needed. For most laser level applications, a flat head tripod with a diameter of 5/8 inch thread is used. If your laser level or other leveling instrument does not have a 5/8 inch thread, you will need to buy an adapter to convert it.
There are three different kinds of heads:
- Flat Head
- Dome Head
- Threaded Base
Tripod Setup and Care
In order to properly use your tripod, you must:
- Verify the level, laser level, or other instrument being used will fit the tripod.
- Have the proper attachments available for the leveling device as well as the tripod (for example: a laser level detector or grade rod)
- Make sure your tripod is clean and in working condition before attaching any instruments.
- When attaching laser levels or other leveling devices to tripods, make sure to check the screws and bolts are not too loose or too tight.
Worksite Conditions
When choosing a tripod, worksite conditions are an important consideration. The surface the tripod will stand on determines how the tripod is set up so be sure of the conditions of the ground or surface where the tripod will be used.
- Adjustable-leg tripods are the only option for uneven terrain. In order to secure setting up a tripod on a slope, only two of the three legs can be downhill; the other must be placed up the hill. {Insert picture of tripod on slanted surface}
- If your tripod is being set up on a surface such as finished concrete or tile, it is important to have a piece of non-slip material approximately 5' x 5'.
- If you are setting your tripod up on a smooth, flat surface, a triangular frame should be used to secure the legs. This frame should be made in the shape of an equilateral triangle with sides equaling 36".
- Surveyor's hubs (blocks of wood used in marshy or frozen conditions) should be driven into the ground in the shape of an equilateral triangle if the ground is not stable.
How to Set Up A Tripod
- When setting up your tripod, the legs should be pulled gently apart and spaced in the shape of an equilateral triangle.
- With the tripod legs spaced apart from each other, the points on each leg should be pushed into the ground to create a sturdy, stable support system for the tripod.
- When making sure the tripod is level, adjust the head to make a flat surface before attaching any sort of laser level or measuring tool.
- After the head of the tripod is level, it is important to properly seat the legs. Never bend the legs.
- Push the legs into the ground gently at an angle.
- When using an adjustable-leg tripod, make sure the legs are clamped at the appropriate height for the user.
How To Use a Laser Level with a Tripod
- Place the laser level on the tripod.
- If you have an auto-level instrument, you don’t have to calibrate it. A laser with auto-leveling is your most accurate method. If you need to do calibration yourself, use the spirit tube and bubble, much like a traditional level.
- If you use the level in bright daylight, you won’t be able to see the laser. Use the beep function to find the laser line. It will beep when you come in contact with the laser.
- Make marks where you need them using the laser line you begin working. You’ll need these marks for reference.
- Turn off the laser level when done.
How to Use a Laser Level Detector
- Turn on the laser level detector.
- Position the detector on the clamp holder using the screw on the holder itself.
- Put the clamp holder on the rod using the clamp bolt on the holder.
- Aim the detector at the rotating laser.
- Loosen the clamp bolt and move the detector up and down to receive the signal.
- Move the detector according to the direction indicated by the display.
- When the display indicates the signal is received directly, tighten the clamp bolt.
- Use the measurement on the leveling rod from the ground as a reference for level in the area.
Caring for your Tripod
It is important to keep your tripod clean before and after each time of use. Proper lubrication of the tripod joints is necessary to avoid wear and tear. To keep them in good operating condition, adjustable-leg tripods legs should be lubricated occasionally. A silicone-based lubricant works best because it does not collect dirt like a grease lubricant.
Transporting your Tripod
It is important to protect your tripod when transporting it to, from and around the jobsite. Wrapping your tripod in a piece of heavy material will provide your tripod with proper cushioning in a fall. It is important not to place other equipment on top of your tripod.
When transporting your tripod short distances, it is not necessary to remove the level or other leveling devices from the head completely. For longer distances, make sure the leveling device is safely disconnected from the tripod. Never carry your tripod over the shoulder; this could result in knocking the device into other equipment or other workers.
Storing your Tripod
When storing your tripod, it is important to clean it properly. Storing your tripod without proper cleaning can result in challenges with equipment during its next use. Tripods are best stored in corners or hanging from hooks. Leaning a tripod against a wall can lead to the equipment falling and being damaged. Protective caps should be placed on the head of the tripod to prevent damage when not in use.
For other informative how-to's, check out Johnson Level how-to’s at their how-to guide page.
View tripods, detectors and laser accessories from Johnson Level.
